Add Emotions to a Voice
Add emotion samples to a saved voice and use them during Studio generation.
Add Emotions attaches extra delivery styles to a voice in My Voices. Use this when the same voice needs different reads, such as calm narration, happy dialogue, urgent announcements, or angry character lines.
Use emotions when the voice identity is already right but the performance needs to change. This is useful for ads, training scenarios, product demos, support examples, character lines, and scripts that move between calm explanation and stronger calls to action.
Prepare emotion samples
Use a separate .wav sample for each emotion. Each sample should be short, clear, and focused on the same speaker. The edit screen accepts emotion samples up to 20 seconds.
Use simple emotion names such as Happy, Calm, Angry, Excited, or Sad. These names appear later when choosing the emotion in Studio.
Record each emotion as the same speaker, same microphone style, and same general loudness when possible. The emotion sample should change the delivery, not accidentally introduce a different room sound or recording quality.
Avoid samples that mix several moods. If a recording starts calm and ends excited, create two separate emotion styles instead. A focused sample gives Studio a clearer style target.
Add an emotion
- Open Voice Lab.
- Open My Voices.
- Find the voice you want to update.
- Select Edit.
- In Add Emotions, enter the emotion name.
- Upload the emotion reference audio.
- Select Add Emotion if you need to queue another emotion sample.
- Select Save Changes.
The app transcribes and saves each queued emotion when you save the voice changes.
Check the saved styles
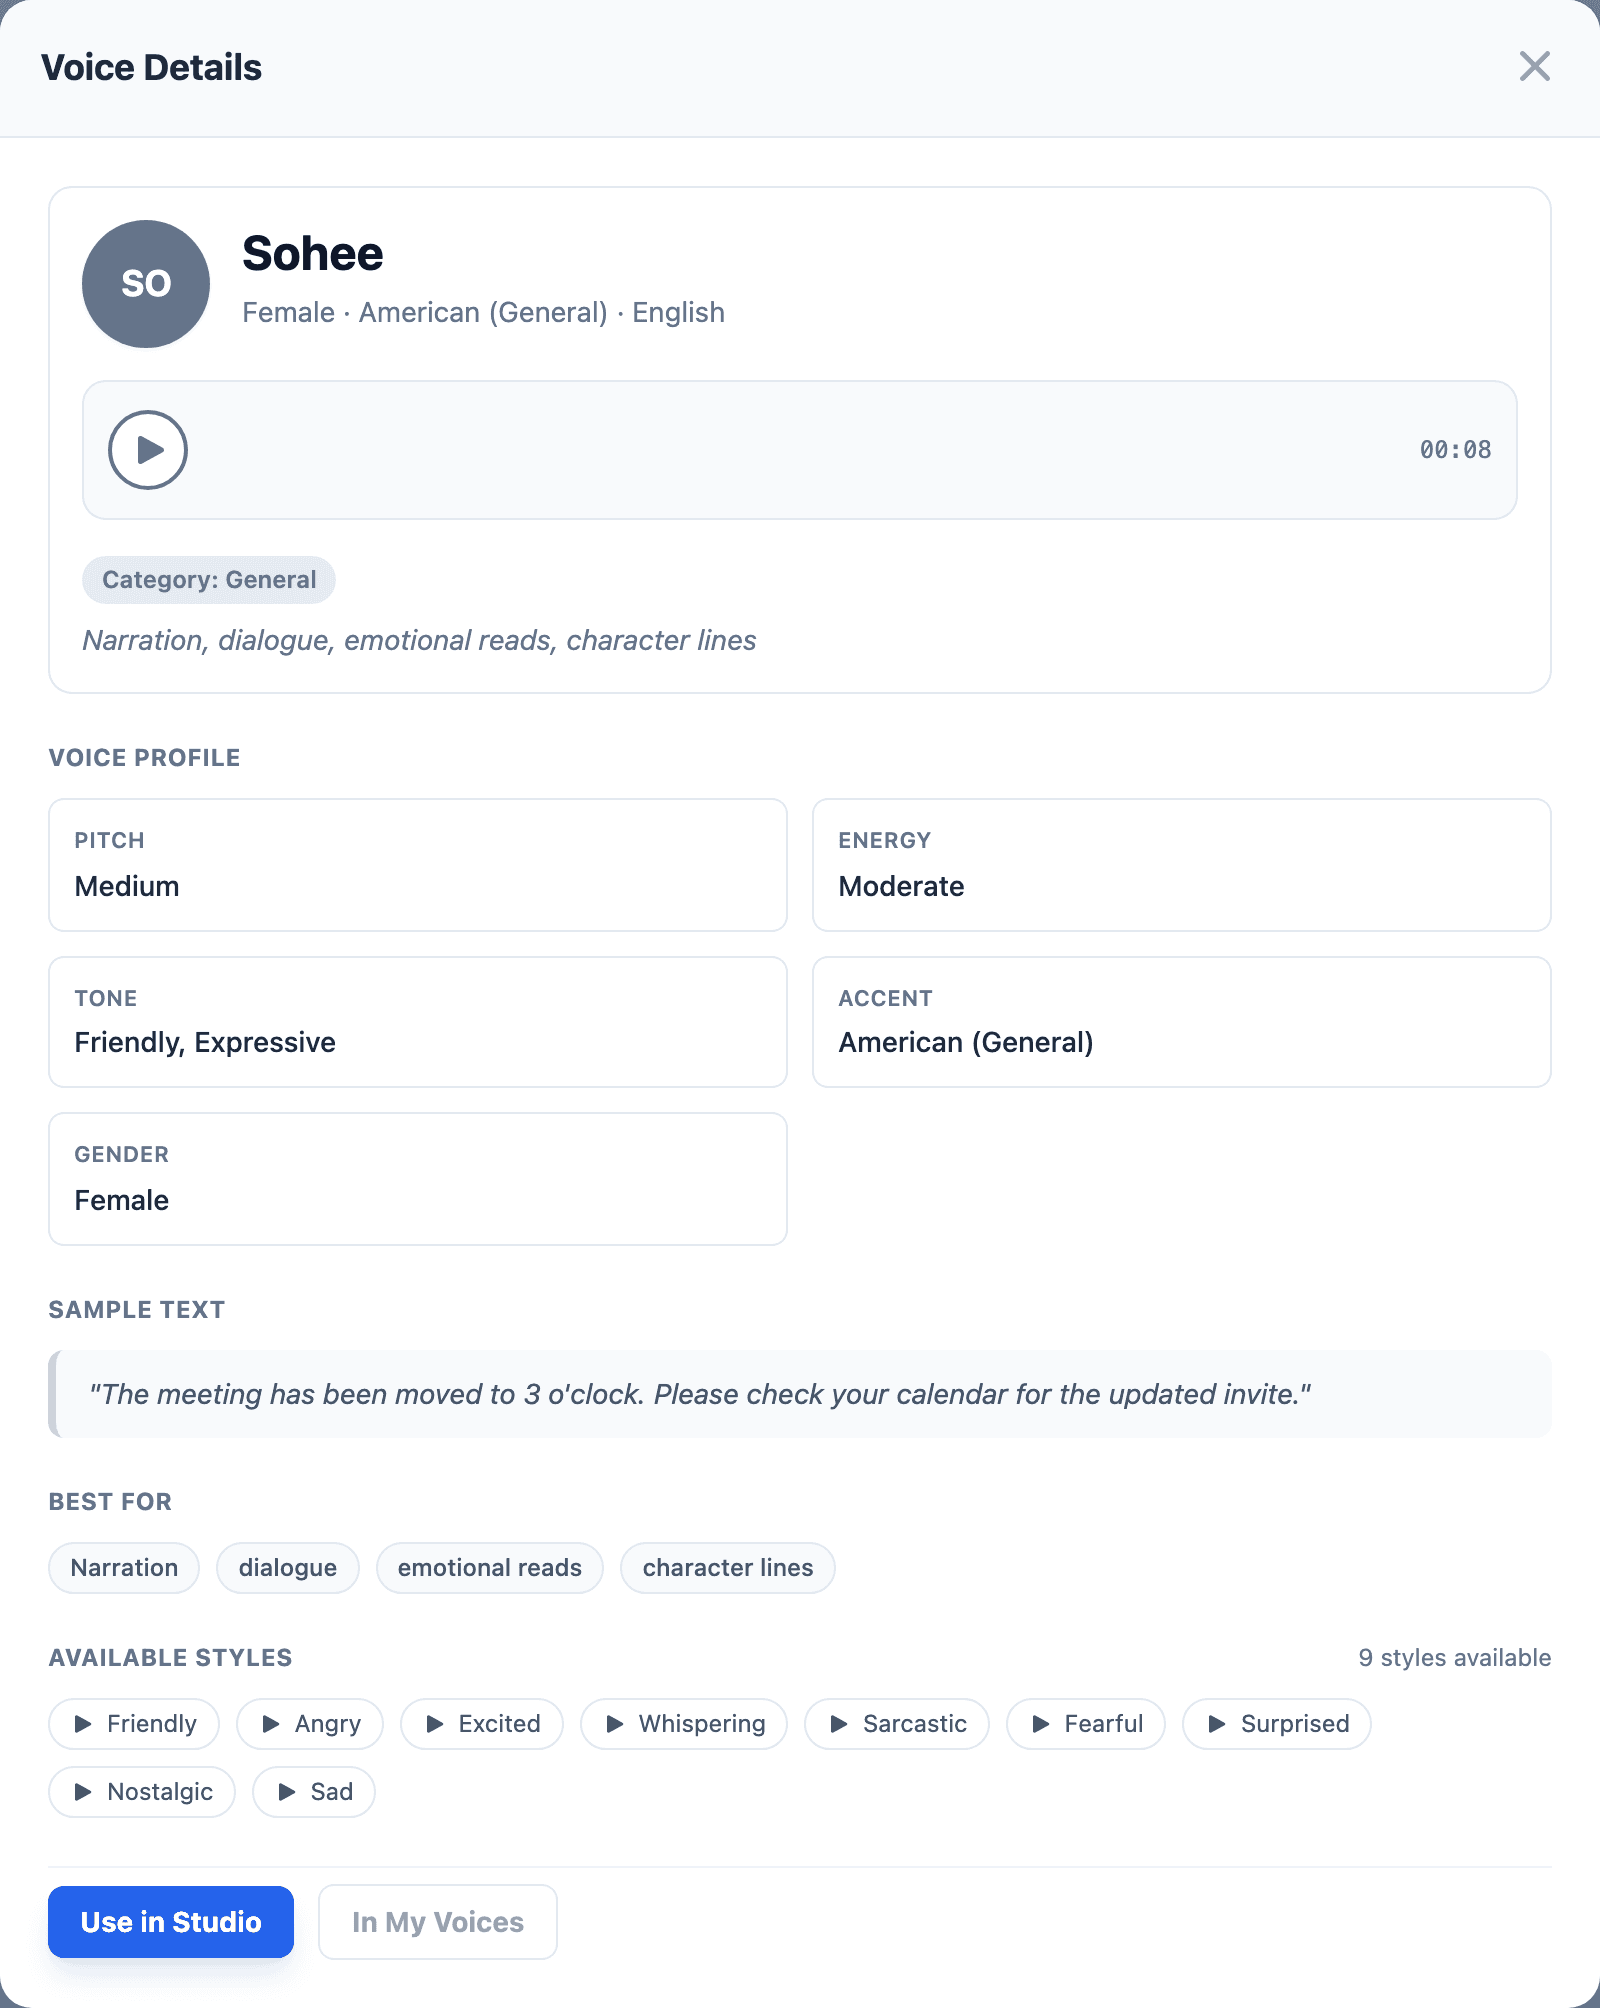
After saving, open the voice details and check Available Styles. A voice with emotions attached shows each saved emotion as a playable style. In this example, Sohee has Friendly, Angry, Excited, Whispering, Sarcastic, Fearful, Surprised, Nostalgic, and Sad styles attached.
If the emotion label is missing, refresh the voice list or reopen the voice details. If it still does not appear, save the emotion again with a clearer name and a supported audio file.
Use the emotion in Studio
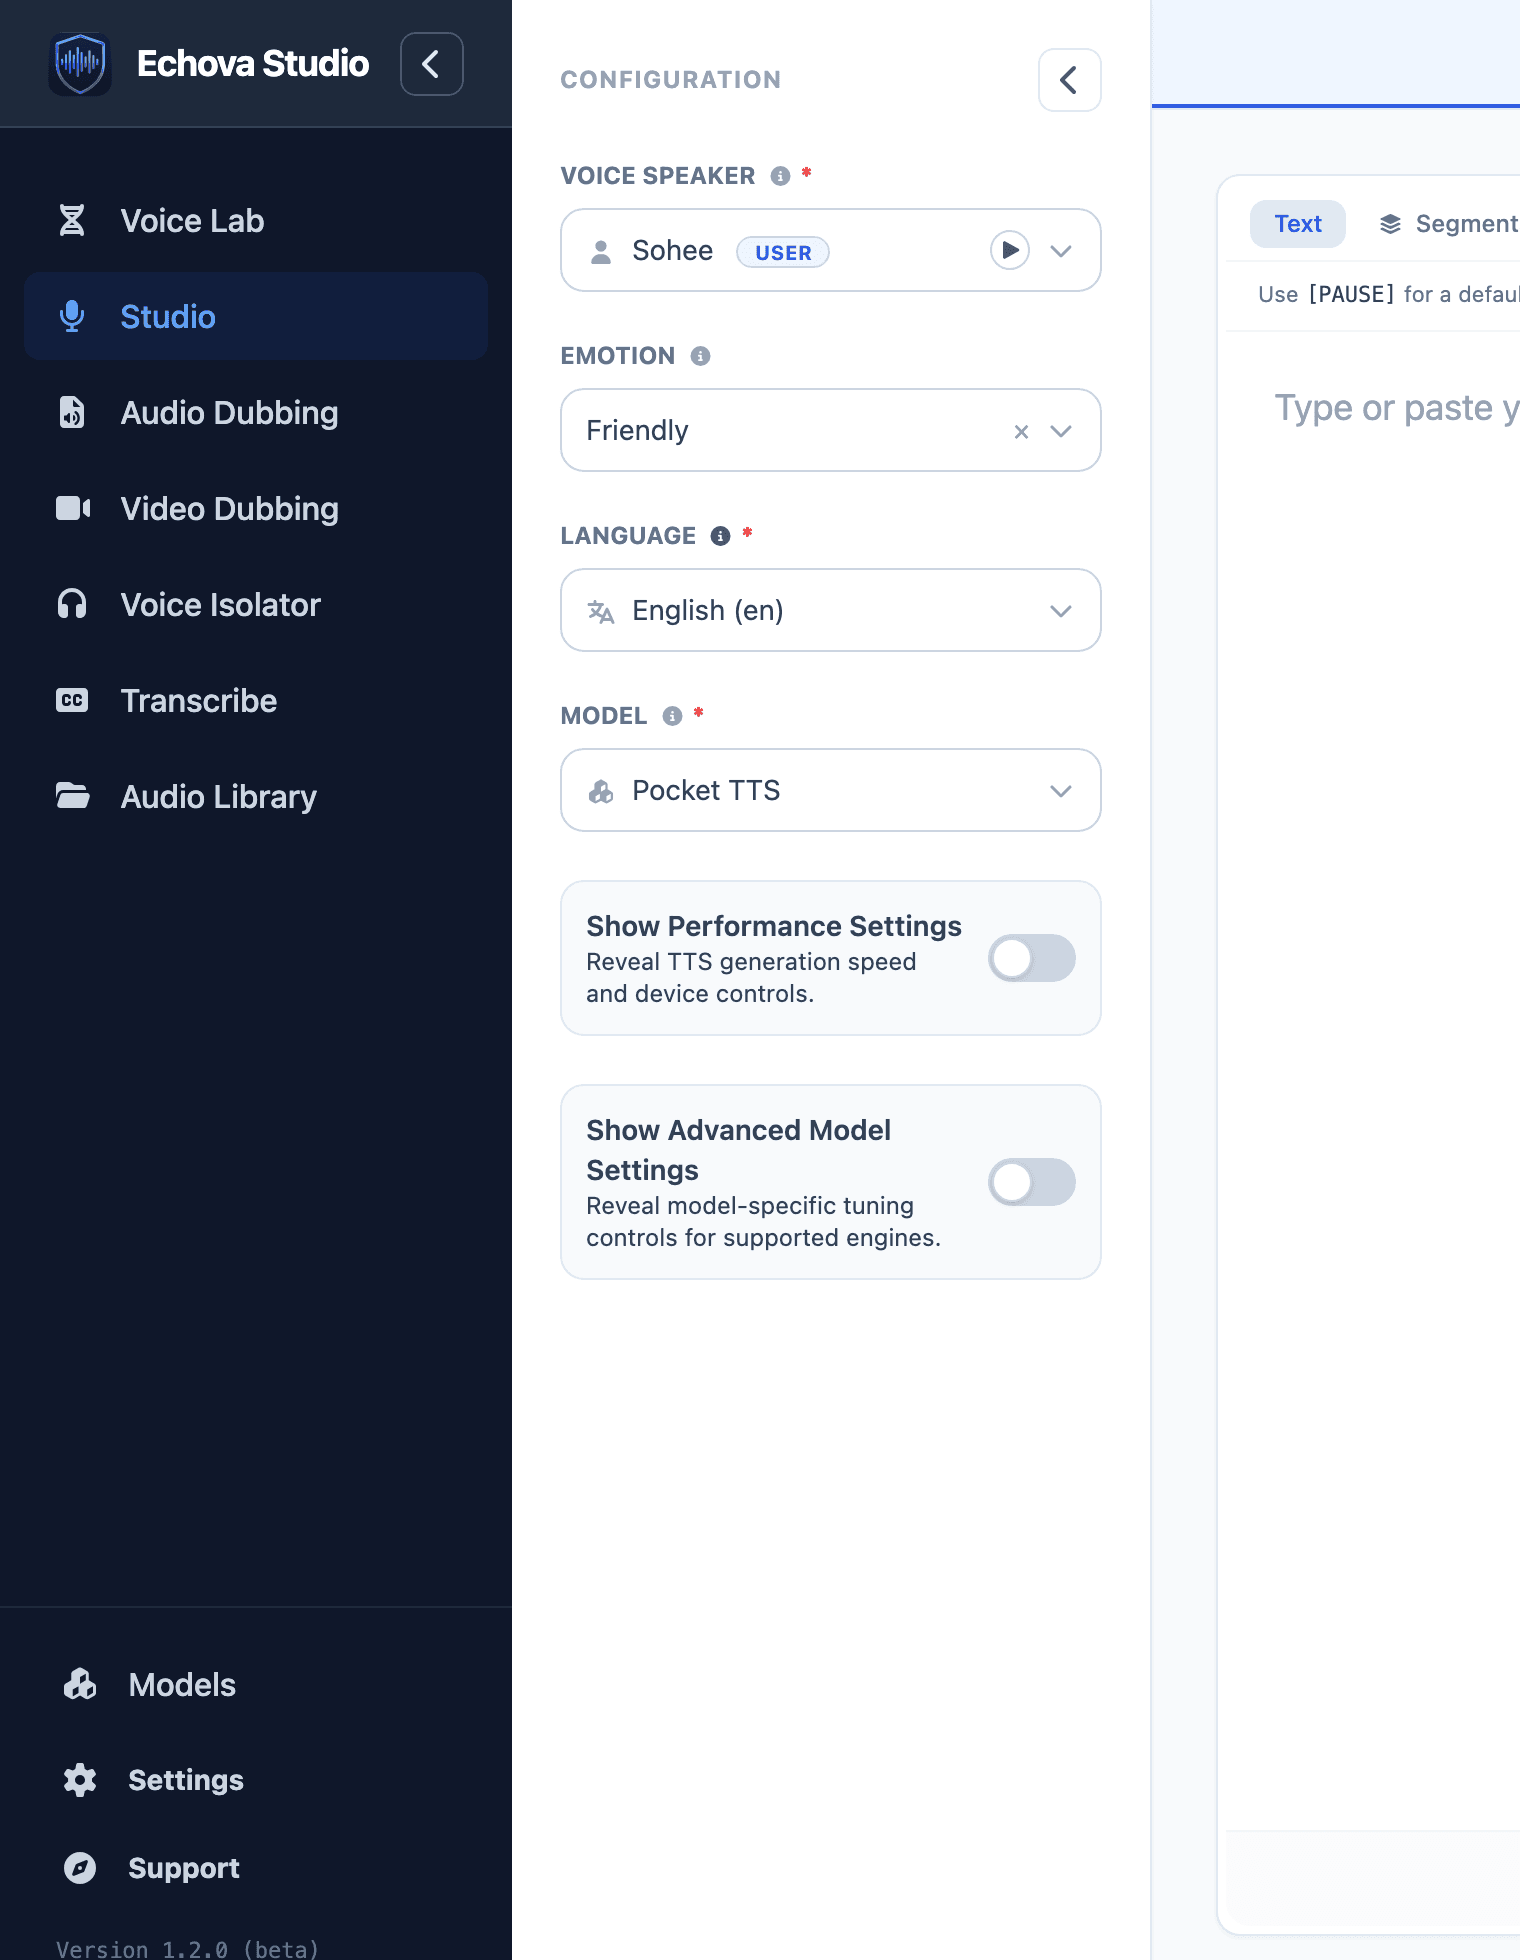
- Open Studio or select Use in Studio from the updated voice.
- Select the voice that contains emotion samples.
- Choose the emotion from the Emotion field when it appears.
- Enter the script and generate as usual.
Studio uses the selected emotion sample as the reference style for that generation.
Use the same script with different emotions when comparing styles. This makes it easier to hear whether the emotion is helping or whether the base voice needs a better reference.
Use the neutral voice for general narration. Use an emotion style only where the script benefits from that delivery. Applying an excited style to a long explainer can become tiring, while using a calm style for a short support answer can make the result sound more natural.
Review the result
After generating, listen for three things:
- The voice still sounds like the same speaker.
- The emotion is present but not distracting.
- Words stay clear at the chosen pace.
If the emotion is too strong, use a calmer sample or a shorter reference. If the emotion is too weak, use a sample where the delivery is more obvious and consistent.
Replace audio vs add emotion
Use Add Emotions when the base voice is good and you only need extra delivery styles.
Use Replace Audio only when the main voice clone should be retrained from a different reference recording.